Beef Bones Broth: 7 Simple Steps to Make the Ultimate Comfort Food
Table of Contents
Have you ever wondered why your grandmother’s soup always tasted so good? The secret might be in the broth. A rich, flavorful beef bones broth is the foundation of many comforting dishes. But what if we told you making it at home is easier than you think?
Why This Recipe Stands Out
This recipe for beef bones broth is special because it taps into the heart of traditional cooking while being simple enough for any home cook. With just a few hours of simmering, you can create a deeply nourishing liquid that transforms soups, stews, and sauces. It requires minimal effort but delivers maximum flavor. Plus, it’s beginner-friendly—no fancy techniques or expensive tools needed!
Time Requirement: Approximately 4-6 hours (mostly hands-off).
Difficulty Level: Easy.
Essential Ingredients

To make this beef bones broth, you’ll need:
- Beef bones: Marrow bones are ideal because they add richness and gelatin. You can also use knuckle bones or oxtails for extra depth.
- Vegetables: Carrots, celery, and onions provide natural sweetness and aroma.
- Herbs and spices: Bay leaves, thyme, rosemary, and peppercorns enhance the complexity.
- Apple cider vinegar: A splash helps draw out minerals from the bones.
- Water: High-quality water ensures a clean taste.
Why These Ingredients Matter
Each ingredient plays a role in creating a well-rounded broth. Beef bones contribute collagen and gelatin, which are great for joint health and digestion. Vegetables add layers of flavor without overpowering the dish. Herbs bring subtle notes that tie everything together.
Substitutions and Variations
- Don’t have marrow bones? Use chicken bones or a mix of both for a hybrid broth.
- Swap carrots with parsnips for a sweeter profile.
- Add garlic cloves for an extra punch of flavor.
Step-by-Step Instructions

Let’s dive into how to make this delicious broth step by step.
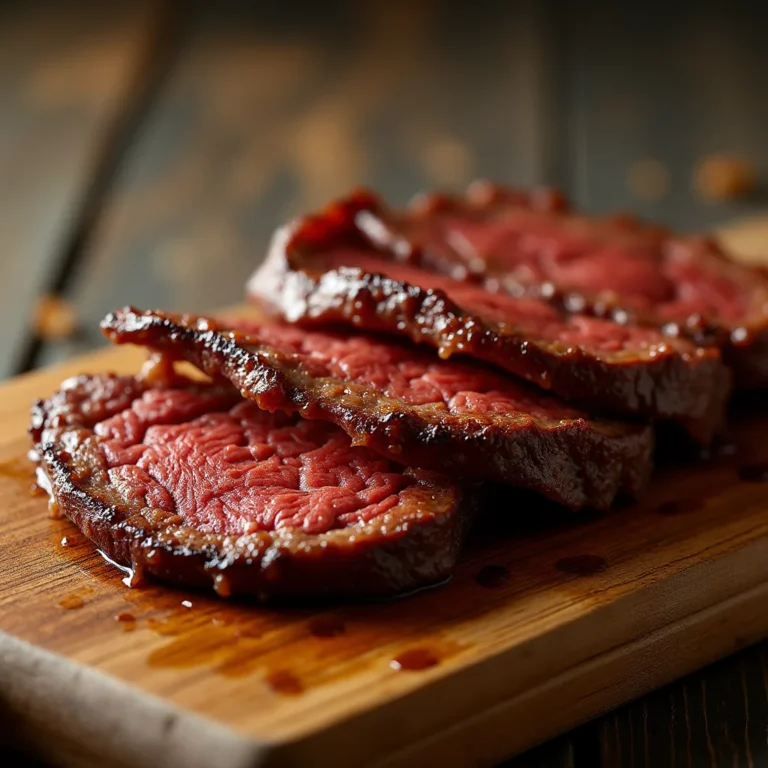
- Roast the Bones
Preheat your oven to 400°F (200°C). Place the beef bones on a baking sheet and roast them for about 30 minutes until golden brown. Roasting enhances the umami flavors and gives the broth a deeper color. - Prepare the Aromatics
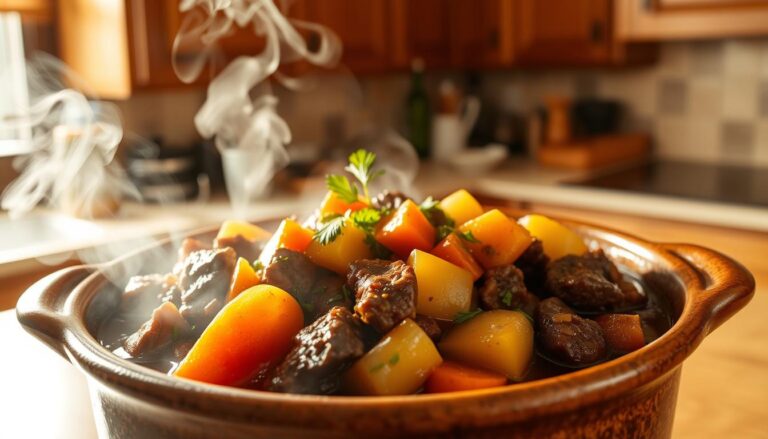
Roughly chop your vegetables—onions, carrots, and celery—and set them aside. There’s no need to peel them unless you prefer a clearer broth. - Combine Everything in a Pot
Transfer the roasted bones to a large stockpot or slow cooker. Add the chopped vegetables, herbs, and spices. Pour in enough water to cover all the ingredients by at least an inch. - Add Apple Cider Vinegar
Stir in a tablespoon of apple cider vinegar. This small addition helps extract valuable nutrients from the bones. - Simmer Slowly
Bring the mixture to a boil, then reduce the heat to low. Let it simmer gently for 4–6 hours. Avoid stirring too much; instead, skim off any foam that rises to the surface during the first hour. - Strain the Broth
Once done, strain the broth through a fine mesh sieve to remove solids. Discard the bones and vegetables, keeping only the liquid gold. - Cool and Store
Allow the broth to cool completely before transferring it to airtight containers. If you notice fat forming on top, skim it off later or leave it for added richness.
Assembly Tips

Building a perfect beef bones broth involves more than just combining ingredients—it’s about presentation too! Here are some ideas:
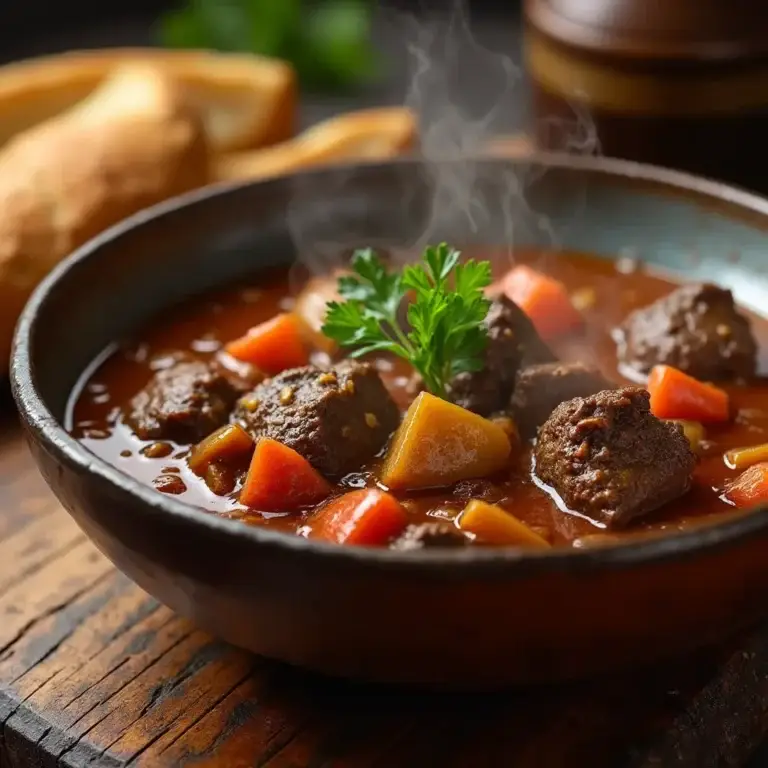
- Serve warm as a standalone drink garnished with fresh parsley or thyme sprigs.
- Use it as a base for hearty soups like French onion or vegetable medleys.
- Freeze portions in ice cube trays for easy access when cooking future meals.
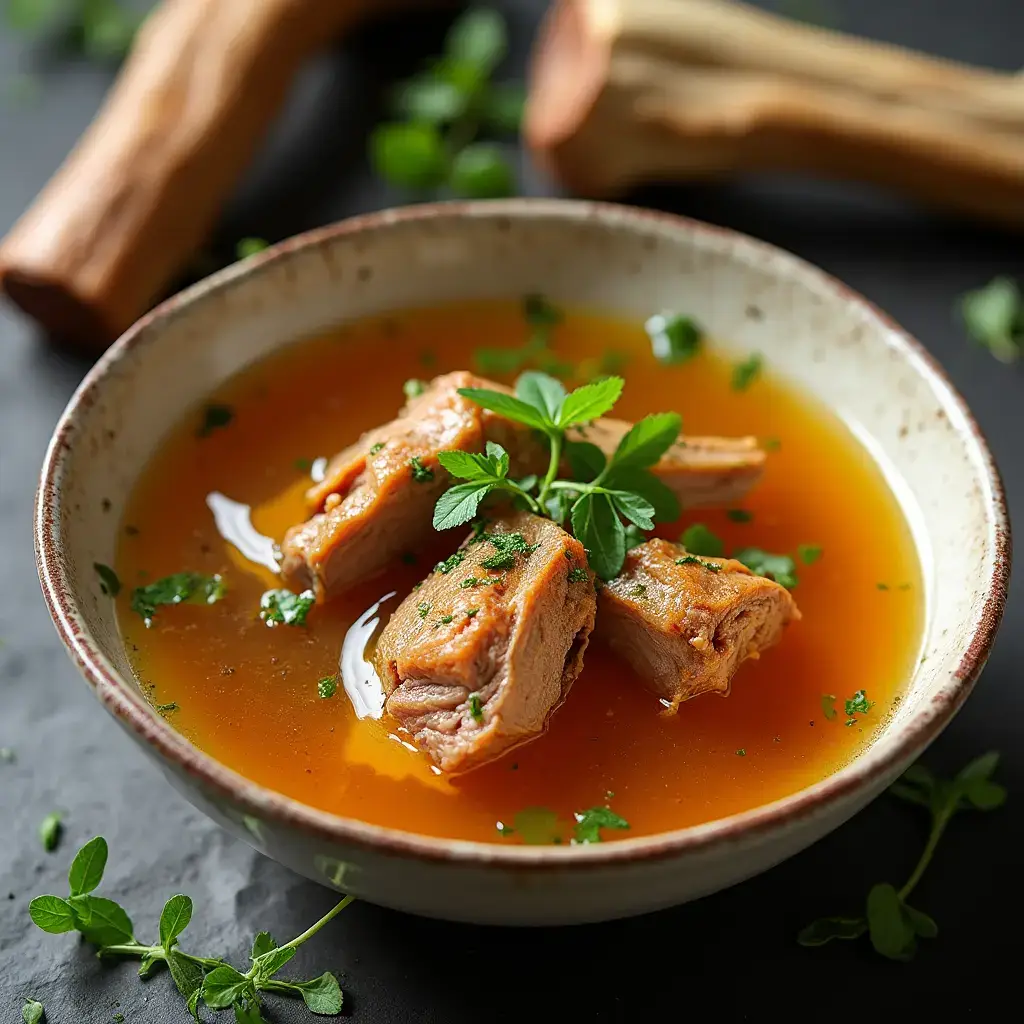
For an elegant touch, ladle the broth into ceramic bowls and drizzle with olive oil. Sprinkle a pinch of sea salt or grated Parmesan cheese for extra flair.
Storage and Make-Ahead Tips
Proper storage keeps your broth fresh and ready to use whenever you need it.
- Refrigerate: Store in sealed containers for up to five days.
- Freeze: Pour into freezer-safe bags or containers and freeze for up to six months. Label each batch with the date for convenience.
- Reheating: Thaw frozen broth overnight in the fridge or microwave briefly. Reheat gently over medium-low heat to preserve its quality.
Recipe Variations
Feel free to experiment with these creative twists:
- Spicy Kick: Add red pepper flakes or a sliced jalapeño for heat.
- Asian Twist: Incorporate ginger, star anise, and soy sauce for an Asian-inspired broth.
- Herbaceous Delight: Infuse additional herbs like sage or oregano for Mediterranean vibes.
- Smoky Flavor: Include smoked paprika or chipotle peppers for depth.
Conclusion
Making beef bones broth is not only satisfying but also incredibly rewarding. Whether you’re using it as a base for other recipes or savoring it on its own, this versatile ingredient will elevate your cooking game. So roll up your sleeves, gather your ingredients, and start simmering—you won’t regret it!
FAQs
How long does beef bones broth last?
Stored properly in the refrigerator, it lasts up to five days. For longer storage, freeze it for up to six months.
What are the health benefits of beef bones broth?
It’s packed with collagen, which supports skin, hair, and joint health. Plus, it contains essential minerals like calcium and magnesium.
Can I speed up the process?
While slow simmering brings out the best flavors, pressure cookers can cut down the time significantly. However, the results may differ slightly.
Is beef bones broth keto-friendly?
Absolutely! It’s low in carbs and high in healthy fats, making it perfect for keto diets.
Can I skip roasting the bones?
You technically can, but roasting adds depth and richness. If short on time, simply increase the simmer duration.
Now that you know how to make this comforting classic, go ahead and try it yourself. Happy cooking!